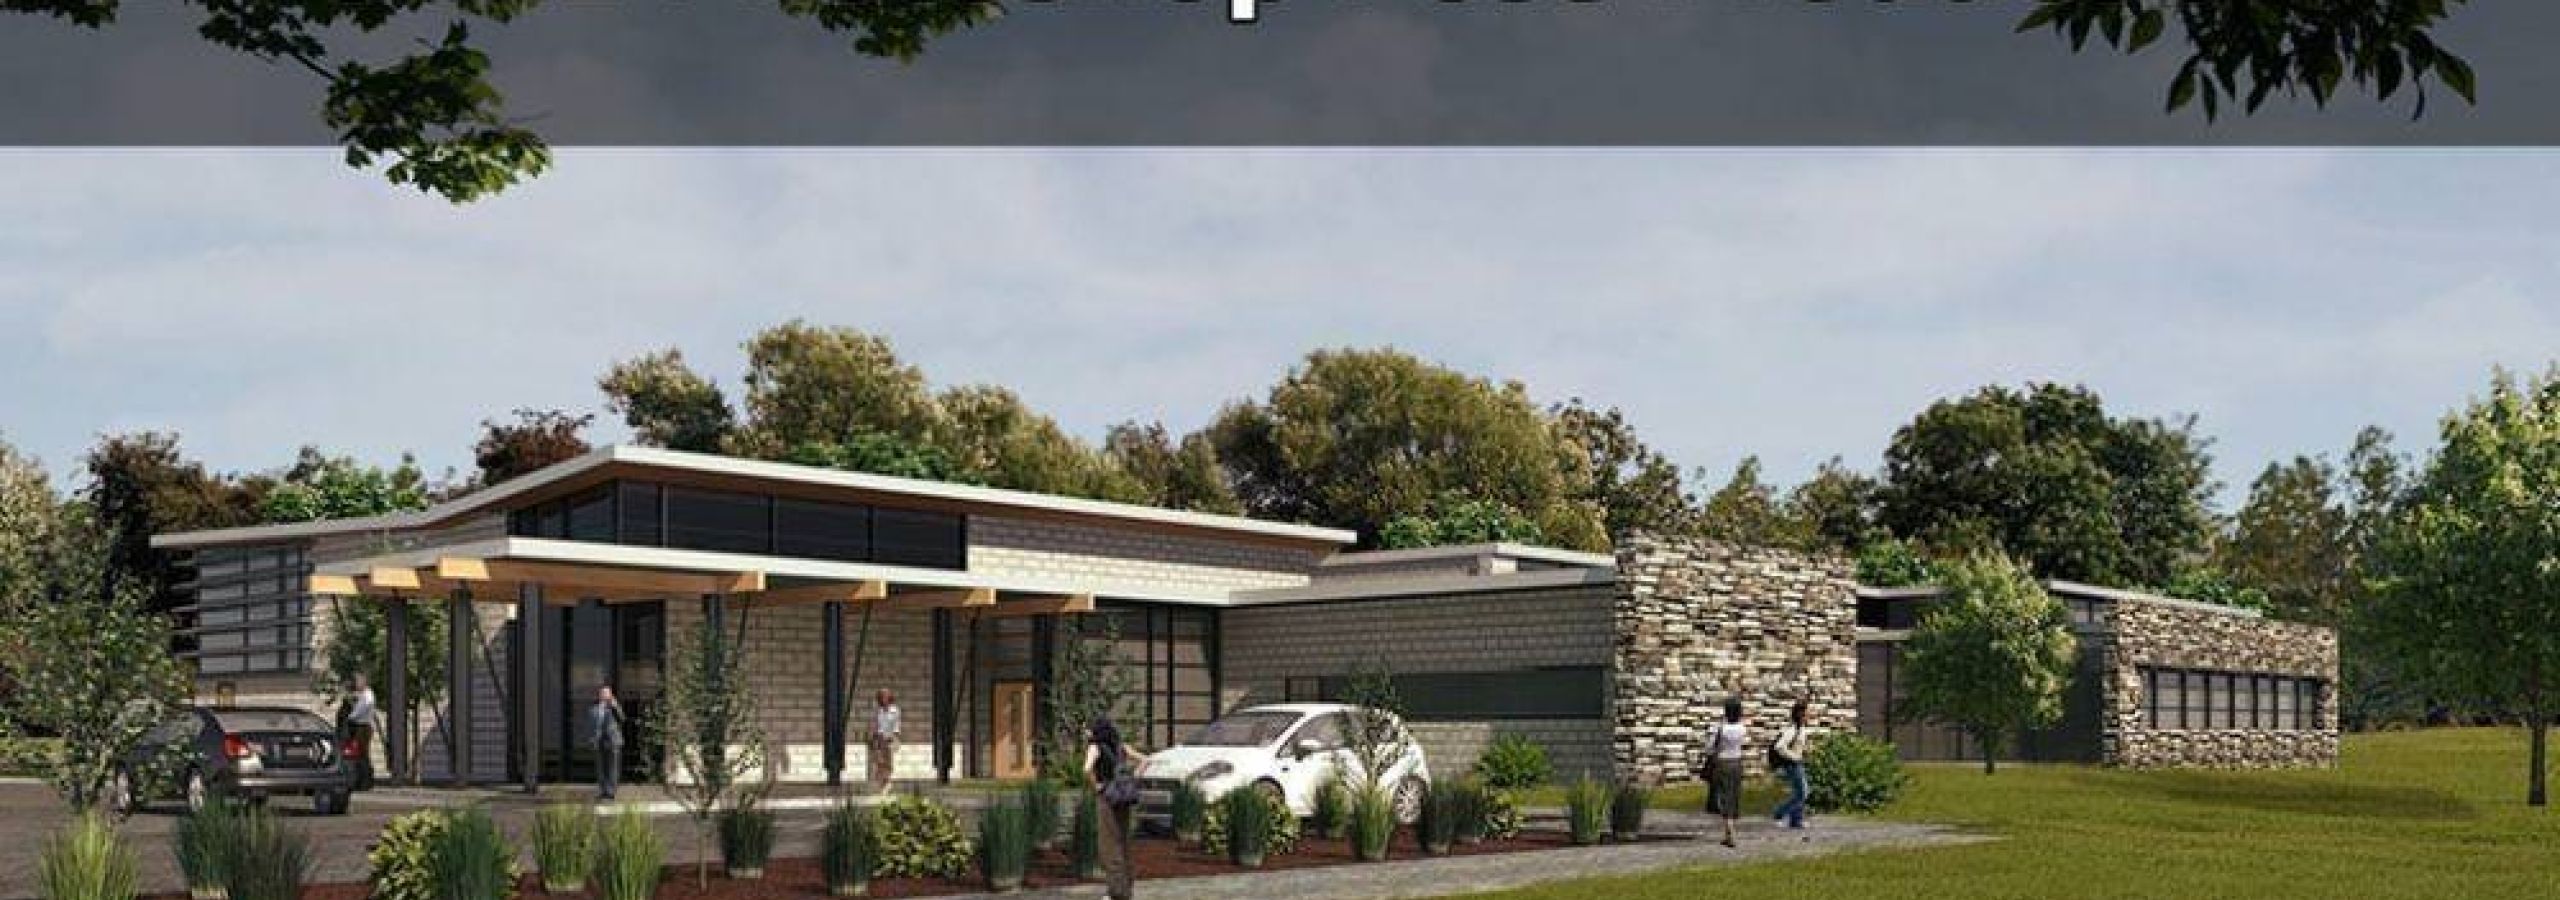
Archviz Photoshop Post-Production
Postproduction Techniques for Architectural Renderings in Photoshop
Elevating Your Visuals with Precision, Creativity, and CAHD™ Integration
In the world of architectural visualization, crafting a strong 3D rendering is only the beginning. The real magic often happens during postproduction—a stage where architectural imagery is refined, styled, and polished for maximum impact. At 3DAStudio™, we leverage advanced Photoshop techniques to transform raw renderings into compelling visual narratives that communicate design intent clearly and artistically.
This stage is also where our proprietary CAHD™ (Computer Aided Human Designed) methodology plays a supportive role, streamlining aspects of the postproduction workflow while preserving human creativity at the forefront.
Whether you're working on residential architecture, commercial spaces, or conceptual design competitions, here are the top techniques that elevate renderings from standard to standout.
1. Start with a High-Quality Base Render
Before postproduction begins, ensure that your base render is clean, high-resolution, and properly exposed. The quality of the initial rendering sets the foundation for all enhancements that follow.
-
Use physically accurate lighting and materials in your 3D model
-
Avoid excessive noise or compression artifacts
-
Render at a resolution that supports large-format or print outputs if needed
2. Color Correction and Visual Balance
Color grading is one of the most powerful tools in postproduction. Use Photoshop adjustment layers such as:
-
Curves to fine-tune contrast and tone
-
Levels for adjusting brightness and shadows
-
Color Balance to shift the warmth or coolness of an image
-
Selective Color to target specific hues for refined control
These adjustments help bring visual harmony to your rendering, ensuring that lighting, materials, and atmosphere work together cohesively.
3. Enhance Contrast and Depth
A rendering should feel three-dimensional. Use contrast adjustments and shadow/highlight balancing to sculpt the scene visually.
-
Increase dynamic range with Curves or Shadows/Highlights
-
Emphasize architectural geometry using light directionality
-
Use Dodge and Burn tools to accentuate depth in key areas
4. Refine Perspective and Geometry
Architectural imagery must maintain clean lines and accurate perspective. Use:
-
Perspective Crop Tool to correct skewed edges
-
Transform > Distort/Skew to align verticals and horizontals
Maintaining geometric accuracy reinforces the professionalism and technical integrity of the image.
5. Clean Up and Remove Distractions
Use Clone Stamp, Healing Brush, and Content-Aware Fill to remove artifacts or unintended elements from the render. Common distractions include:
-
Background clutter
-
Repeating patterns in textures
-
Model artifacts from 3D rendering engines
Clean visuals let the architecture take center stage.
6. Improve Sharpness and Texture Clarity
While restraint is key, sharpening can bring out fine architectural detail. Use:
-
Smart Sharpen for subtle enhancement
-
High-Pass Filter for selective edge sharpening
-
Texture overlays to add realism to flat materials (e.g., concrete, brick, wood)
7. Sky and Environmental Integration
Replacing a dull sky with one that matches your lighting scenario can significantly elevate the image.
-
Use layer masks and blend modes for seamless sky integration
-
Match shadows, reflections, and color temperature
-
Add environment elements (trees, background buildings, etc.) for realism
8. Simulate Depth of Field
Use Gaussian Blur on separate depth layers to simulate real camera depth of field, helping guide the viewer’s attention and add photographic realism.
Pro Tip: Subtle background blur is especially effective for hero shots or product-style renderings.
9. Add People and Human Context
Strategically placed scale figures help communicate scale and intended use. Ensure they are:
-
Proportionally correct
-
Adjusted for lighting and shadow consistency
-
Integrated with slight edge feathering or motion blur for realism
This not only enhances the image’s visual story but also builds emotional connection.
10. Landscape and Vegetation Enhancements
Use custom brushes to add trees, grass, shrubs, and flowers that complement the design and setting.
-
Keep scale and lighting direction consistent
-
Vary species and placement to avoid repetition
-
Blur or desaturate background foliage for depth
11. Maintain Style Consistency
Postproduction should always reflect the tone, branding, or conceptual message of the project.
-
Use a consistent color palette
-
Stick to defined visual styles (modern minimal, warm and rustic, moody and atmospheric, etc.)
-
Ensure alignment with client expectations or marketing goals
12. Work Non-Destructively
-
Use adjustment layers and layer masks
-
Organize your layers and label them clearly
-
Save master PSDs and export final images in multiple formats (JPG, PNG, TIFF)
This protects your work and allows for easy revisions down the line.
Evolving Postproduction with CAHD™
At 3DAStudio™, we enhance our postproduction workflow with CAHD™ (Computer Aided Human Designed)—a methodology that carefully incorporates AI-supported tools to assist with repetitive or time-intensive tasks such as:
-
Sky replacement previews
-
Auto-masking elements
-
AI-driven content-aware fill for background extensions
-
Initial color balance suggestions
While these tools accelerate production, all final edits, artistic decisions, and visual storytelling remain entirely human-led. CAHD™ ensures we stay efficient without compromising the intent and vision of the designer.
Final Thoughts
Photoshop postproduction is where technical rendering meets visual storytelling. It’s a chance to refine your architectural visualizations into pieces that not only impress—but communicate.
At 3DAStudio™, we apply these techniques daily to deliver high-impact visuals for architects, designers, developers, and agencies. Whether preparing presentation imagery, competition entries, or marketing materials, we believe in thoughtful, detail-driven postproduction—and in leveraging the best tools available to do it.
Great architecture deserves great presentation. Let us help you bring it to life.

